For many businesses, real-time cache invalidation is a crucial part of maintaining an efficient and effective content delivery network (CDN). With Akamai’s CDN services, you can go beyond traditional Time-to-Live (TTL) methods to ensure that your content is always up-to-date and delivered efficiently. In this blog post, we’ll explore why real-time invalidation is a superior approach compared to TTL and guide you through a step-by-step process to implement this solution using Akamai’s Cache Purge API and Adobe IO.
Why Real-Time Cache Invalidation?
Traditionally, TTL settings dictate how long content is cached on the CDN before it’s refreshed. While this method works, it has its limitations. By setting a long TTL and leveraging real-time invalidation, you can significantly improve performance and reduce costs. Here’s how:
- Reduced Usage Costs: Long TTL settings keep content cached for extended periods, minimizing unnecessary hits to your origin server. This approach ensures that your content remains available on the CDN until it’s updated, thus saving on bandwidth and server resources.
- Improved Performance: With TTL, if the cache is refreshed every hour or so, there’s a risk that users might receive outdated content or experience slower load times if the content has expired. By invalidating the cache in real-time, users always get the most current version of your content, ensuring optimal performance.
The Real-Time Invalidation Strategy
Instead of relying solely on traditional Time-to-Live (TTL) settings for managing your Akamai cache, you can leverage real-time invalidation to ensure that your content is always fresh and your CDN performance is optimized. Here’s how you can set up a robust real-time cache invalidation strategy using Akamai’s Cache Purge API and Adobe IO.
Akamai Invalidation API
Akamai provides several methods for cache invalidation, but we will focus on invalidation by cache tag for this strategy. This method is particularly advantageous because it offers significant flexibility and eliminates URL length limitations that might be imposed by other invalidation methods.
What is a Cache Tag?
A cache tag is a unique identifier used to manage cached content. It is generated as a hash of the page path combined with the environment details, allowing you to precisely target and invalidate specific content on Akamai’s CDN. You can also implement custom logic to create a unique cache tag for each page, tailored to your specific caching needs.
How It Works:
- Generating the Cache Tag: On your AEM instance, a Java Sling filter generates the cache tag for each page request. This tag is then included in the response headers for the page. The cache tag is created by hashing the page path along with the environment, but you can customize this process to fit your requirements.
- Using the Cache Tag for Invalidation: When content is published or updated, a runtime action receives the publish event payload in XML format. This payload contains the path of the page that has been modified. Based on this path, the runtime action generates a corresponding cache tag and uses Akamai’s Cache Purge API to invalidate the cached content associated with that tag.For detailed information on Akamai’s Cache Purge API, including how to send invalidation requests, refer to the Akamai Cache Purge API documentation.
Steps for Real-Time Invalidation:
Step 1: Set a Long TTL for Your Content:
Configure a very long TTL (e.g., one year) for your cached content. This approach keeps your content cached on Akamai’s CDN until you explicitly decide to invalidate it, which reduces unnecessary origin hits and lowers costs.
Step 2: Configure Adobe IO Events on AEM:
Set up Adobe IO Events to listen for content changes on AEM. This step involves configuring the AEM instance to emit events that can be captured by Adobe IO. For instructions, see Setting Up Adobe IO Events on AEM.
Step 3: Create an Adobe IO Runtime Action:
Develop a custom Adobe IO Runtime Action to handle the events emitted from AEM. This action will be responsible for generating the cache tag and sending a request to Akamai’s Cache Purge API to invalidate the cache. Learn how to create a runtime action in the Adobe IO Runtime Action Guide.
Step 4: Enhance the Runtime Action for Cache Invalidation:
Update your runtime action to include logic for generating the cache tag based on the publish event payload and using the Akamai Cache Purge API to clear the cache. This involves constructing the request body and handling the API response.
Sample runtime code to flush akamai cache via tag is available here.
Step 4: Java Filter on AEM
Implement a Sling filter in AEM to generate the cache tag and add it to the response headers. This step ensures that every page’s response includes the necessary cache tag for invalidation.
Step 5: Creating Event Registration
Register your Adobe IO project to capture AEM publish events and bind these events to your runtime action. This process connects your content updates with the cache invalidation logic you’ve set up.
- Create an Adobe IO project (refer to Step 1).
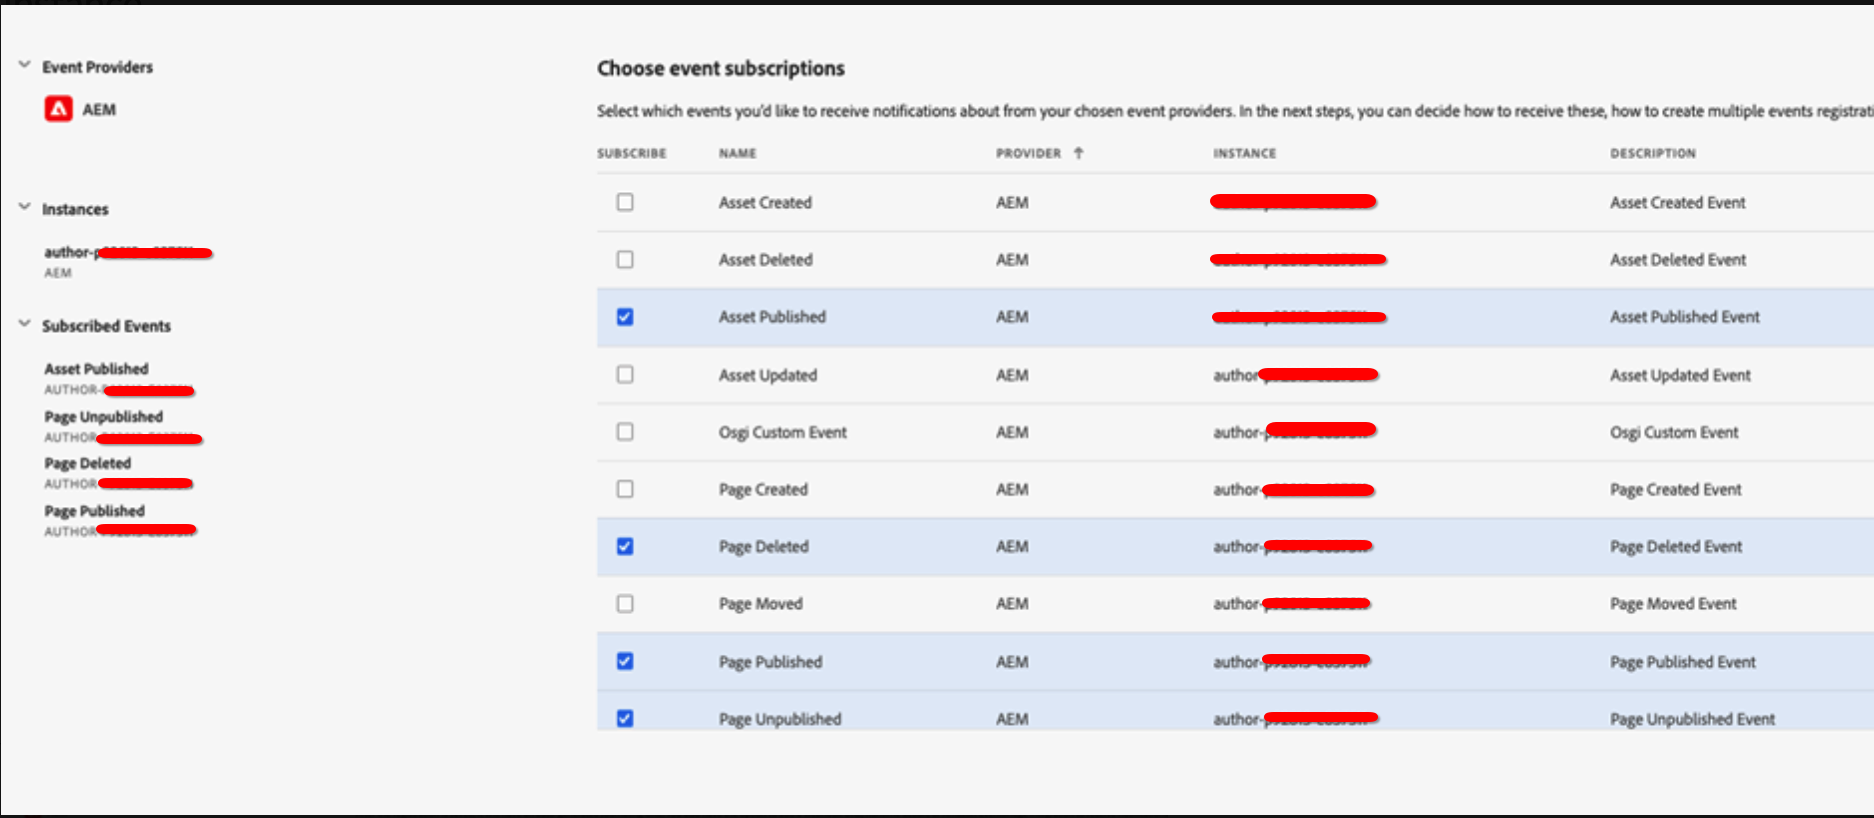
- Select the Event Provider AEM instance and select the events for which you want to subscribe. Make sure to have the AEM filter deployed on the AEM instance.
- Select the runtime action.

- Save.
With the setup complete, you can now test your cache invalidator. Publish a page in AEM and check that the updated content is visible on your live site.
Leave a Reply