Are you ready to dive into the world of Adobe IO Runtime actions? Whether you’re a seasoned developer or just starting out, this guide will walk you through the process of setting up and developing your own Adobe IO Runtime action from scratch. We’ll cover everything from installing the necessary tools to deploying your action to Adobe IO for testing and integration.
Before we begin, make sure you have the following tools installed on your system:
- Node.js Version 18-20: We recommend using Node.js version 18-20 (odd versions are not recommended) along with npm. You can manage Node.js installations and versions easily using nvm.
- Adobe I/O CLI: Install the Adobe I/O CLI using the npm command
npm install -g @adobe/aio-cliNow that you have the tools set up, let’s get started with creating your Adobe IO project.
Create Adobe IO Project
The first step is to create a project in the Adobe Developer Console. Follow these steps:
- Log in to the Adobe Developer Console and create a new project.
- Select a project with a template, specifically an app builder template.
- Add an API by navigating to “IO Management API” and selecting “JWT”.
- You can either generate and download the configuration zip file or upload the generated public key in step 2.
- Now you are ready to create your runtime action.
Create Runtime Action
Now it’s time to create your runtime action. Follow these steps:
- Open your terminal and run the following command to initialize your Adobe IO Runtime action and generate the necessary boilerplate code:
aio app init <app_name>


For Example
aio app init akamaiflush
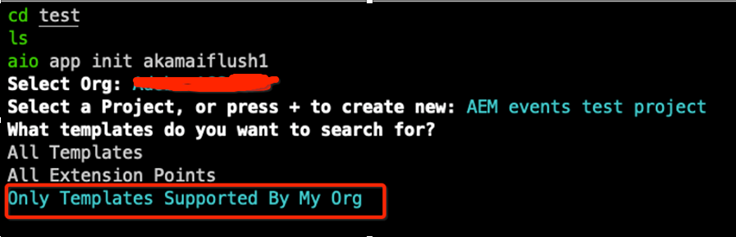
- Select
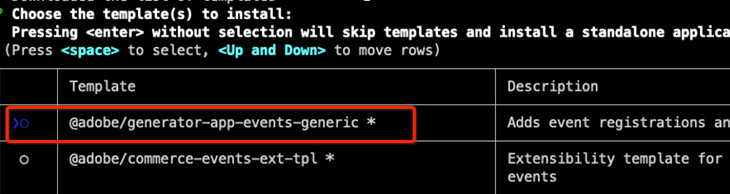
- Select

- Select

- Select
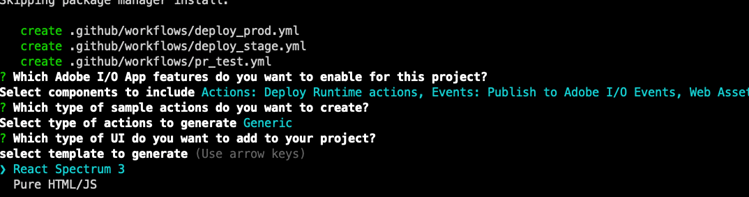
- The generated boilerplate code serves as a starting point for developing your custom runtime action. You can build upon this codebase to create a tailored runtime action that meets your specific requirements.
Note: Switch Workspace
By default, the Adobe IO CLI creates the action with a stage workspace. If you need to switch to the development workspace or any other workspace, you can do so using the following command:
aio app use -w <workspace>
Or you can download the workspace.json file and use the command:
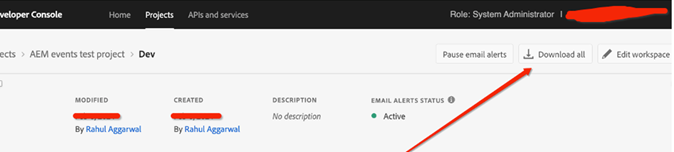
aio app use <workspace.json>

For Example
aio app use ../akamaiflush-323123-Development.json
Run and Test Your Runtime Action Locally
Before deploying your action, it’s essential to test it locally. We will test the basic/raw action we just created. Here’s how:
- Disable authentication in the
app.config.yamlfile. To disable authentication in theapp.config.yamlfile, you need to set therequire-adobe-authproperty tofalse. - Also, remove the authentication code from the
index.jsfile of your action. - Update the
webattribute to ‘yes’ in theapp.config.yamlfile to indicate that it should run as a web action. - Execute the following command to start the local Node.js server with the action
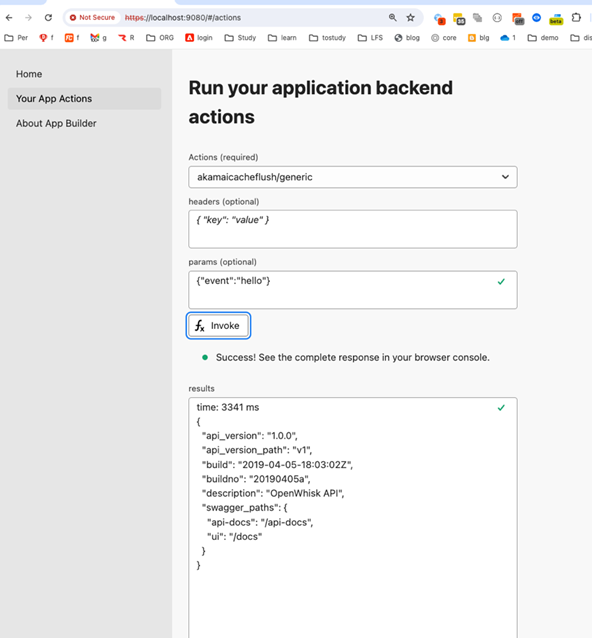
aio app run- Provide a JSON payload in the
paramssection for testing purposes.
Deploy Action to Adobe IO
Once you’ve tested your action locally, it’s time to deploy it to Adobe IO for further testing and integration. Follow these steps:
- Ensure that the
webattribute in theapp.config.yamlfile is set to ‘no’. - Run the following command to deploy the action using the Adobe IO CLI:
Make sure you are in the correct project workspace before executing the deployment command.
aio app deployThis command will deploy your action to the workspace on Adobe IO, making it available for testing and integration purposes.
- After deployment, you can verify the version of your runtime action being updated.

Congratulations! You’ve successfully set up and developed your Adobe IO Runtime action. Now you can leverage the power of Adobe IO to build scalable and efficient applications. Happy coding!
Leave a Reply